

The short version
Preheat the empty tray for 1 to 2 minutes, put the food on the hot plate, close the buckles, and cook. Toast takes about 2 to 3 minutes, a sandwich 1 to 3 minutes, and most other foods 3 to 5 minutes at 800W. Start short, check, and add time. Never use the tray on a stovetop, in an oven, or in an air fryer. It is built for a microwave only.
We manufacture these trays, so the times below come from our own product testing rather than guesswork. They are the same figures we print on the instruction sheets that ship in the box.
If you are still deciding whether to buy one, our honest test of whether crisper trays actually work is the better starting point. This page assumes you already have one in your hand.
Before the first use
Two minutes of setup prevents most of the problems people report later.
Wash the tray in warm water with a soft sponge and dry it. Check that the buckles or side clips close firmly, since a tray that pops open mid-cook is the most common cause of a mess.
Then find your microwave's wattage, which is printed inside the door or on the back panel. Every time below assumes 800W. On a 700W unit add roughly a minute; on 1000W or higher, check earlier than the stated time.
Our trays are built for standard household microwaves, generally 800W to 1200W, and they work in inverter, convection and grill microwaves. They are not for induction cooktops or open flames.
The five-step method
1. Preheat the empty tray
Run the closed, empty tray for 1 to 2 minutes. This is the step most people skip, and it matters more than anything else on this page. The heat-conducting plate needs to be hot before food touches it, otherwise the food steams while the plate catches up.
1-2 minutes2. Prepare the food
Pat meat and anything damp dry with kitchen paper. Surface moisture has to boil off before browning can start, so a dry surface is the difference between crisp and pale. No oil is needed, though a light brush helps on lean cuts.
30 seconds3. Load in a single layer
Give each piece room. A crowded tray traps steam, and trapped steam is the enemy of crisp. Do not overfill, especially with fillings that melt, or they will escape past the seal.
Single layer4. Close the buckles and cook
Fasten all the clips before it goes in. Start with the short end of the time range, then add 30-second increments. You cannot undo overcooking, but you can always add time.
1-5 minutes5. Remove by the silicone, and rest
Lift the tray by the silicone shell or handles only. The plate inside is genuinely hot, which is the entire point of the product. Let it stand for a moment before opening, and never rinse a hot tray under cold water.
Handle with care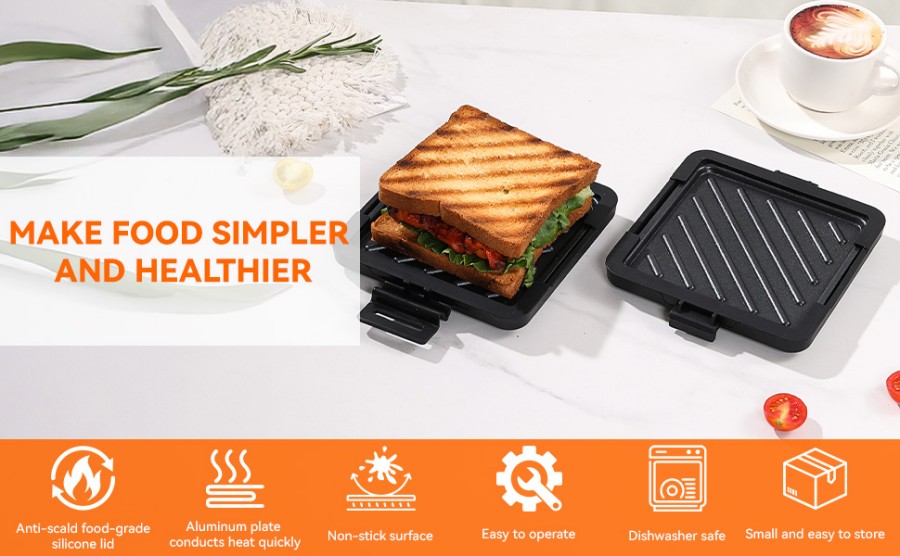
Cook times by food
All times assume 800W and a preheated tray. Treat them as a starting point, then adjust once you know your own microwave.
| Food | Time at 800W | Notes |
|---|---|---|
| Toast, two slices | 2-3 min | Fits regular square toast around 12 x 12 cm |
| Grilled sandwich | 1-3 min | Start at 1 minute, 1-2 min is often enough for a caramelised finish |
| Panini or quesadilla | 2-3 min | Keep fillings modest so nothing escapes the seal |
| Bacon | 3-4 min | Let the grooves drain the fat, less spatter than a pan |
| Thin chicken breast | 4-5 min | Pat dry first, flip once |
| Leftover pizza slice | 2-3 min | Crisps the base instead of steaming it |
| Steak, in a multi-pot | 5-8 min | Deeper pot models, 5-8 min at 800W |
| Vegetables | 3-4 min | Cut evenly, dry the surface |
| Frozen fries | 5-6 min | Edges crisp well, centres stay softer than an oven |
Two adjustments cover almost every microwave. On 700W, add about a minute to anything over two minutes. On 1000W and up, check 30 seconds before the stated time, because the plate reaches temperature faster than most people expect.
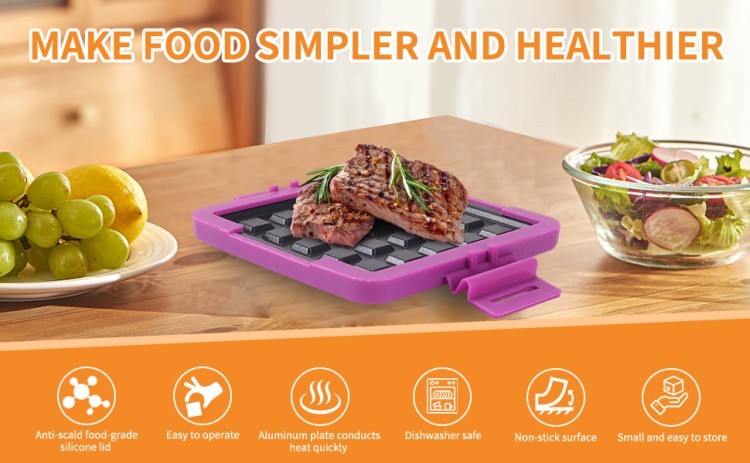
The rules that keep it safe
Do
- Use it in a microwave only, at 800W to 1200W
- Preheat empty for 1 to 2 minutes
- Fasten every buckle before cooking
- Lift by the silicone shell and handles
- Let it cool before washing
Do not
- Put it on a stovetop, open flame, oven element, induction hob or air fryer
- Add metal foil or metal utensils
- Overfill it, especially with melting fillings
- Touch the metal plate straight after cooking
- Rinse a hot tray with cold water
The temperature ratings behind those rules are specific. Our silicone shells are rated from -40°C to 230°C, with press plates on some models rated to 260°C, and the square tray holds up to 230°C for as much as 30 minutes of continuous microwave heating. Those numbers exist because the material has been tested, which is exactly what an uncertified tray cannot tell you.
Troubleshooting
Four complaints cover nearly everything people report, and all four have simple fixes.
| Problem | Most likely cause | Fix |
|---|---|---|
| Food is not crisp | No preheat, or a wet surface | Preheat 1-2 min, pat food dry, add 30-second increments |
| Cooking is uneven | Overcrowding, or a thick cut | Single layer with space, flip thicker items once |
| Food sticks | Cooking straight from cold, or a scratched coating | Preheat, and never clean with steel wool or metal tools |
| Filling leaks out | Overfilled, or clips not fastened | Use less filling, close every buckle before heating |
There is a fifth cause worth naming honestly. If a tray never crisps anything no matter what you do, it may not contain a real heat-conducting plate. That is a build problem rather than a technique problem, and we explained how to spot it in our crisper pan buyer's guide.
Cleaning and care
Let the tray cool first. Thermal shock from cold water on a hot plate is hard on any coating.
Warm water and a soft sponge handle normal use, and our trays are dishwasher safe on the top rack. Many models are detachable, which makes the corners far easier to reach.
Never use steel wool, metal spatulas or anything sharp. The non-stick coating is what keeps food releasing cleanly, and once it is scratched, sticking follows.
Clean acidic and oily foods promptly rather than leaving them to sit. Stored dry, with the buckles unfastened so the seal is not compressed, a tray stays in good shape for years.
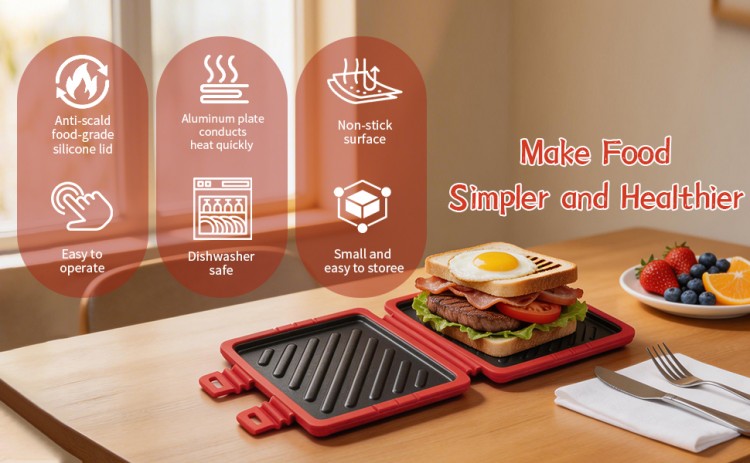
Which model suits which cooking
The specifications differ between formats, and matching the tray to what you cook saves a lot of trial and error.
| Quick-cooking tray | Toast in 2-3 min, fits two slices around 12 x 12 cm, four symmetrical buckles, silicone -40°C to 230°C with a press plate to 260°C |
|---|---|
| Sandwich grill tray | Aluminium heat-conducting plate, double-sided non-stick, caramelised finish in 1-2 min, detachable for cleaning |
| Square tray | 3D wave-pattern surface, oil drainage channels, rated to 230°C for up to 30 minutes of continuous heating |
| 3-in-1 tray | Double-sided corrugated trays, 0.3 mm thickened coating, sandwiches at 800W for 3 min, fully detachable |
| Multi-pot | Deeper sealed body for steaks, soups and vegetables, 5-8 min at 800W, gravity lid removes the need to flip |
You can see the full range of microwave grill trays and compare formats side by side, or read how the flatter tray stacks up against an appliance most people already own in our crisper pan versus air fryer comparison.
For retailers: turn this page into your instruction card
If you sell this category, the content above is the single cheapest way to reduce returns.
Most negative reviews on crisper trays are technique problems wearing the costume of product faults. No preheat, wet food, an overcrowded tray. A printed card with the preheat step, a short cook-time table and the do-not list turns those one-star reviews into repeat customers.
We supply instruction guides in the box and can customise them with your branding, along with logo printing, packaging and colour. MOQ starts at 500 pieces in stock colours and 1,000 for custom logo or colour, with samples in 7 to 10 days. The full process is in our sourcing and OEM guide, and the certification side is covered in FDA versus LFGB for importers.
Getting more out of the tray
Once the basics are working, a few habits raise the results further. None of them cost anything.
Cook in the right order. The tray holds its heat between rounds, so cooking two sandwiches back to back is faster than the first one was. The second round rarely needs a fresh preheat.
Use the grooves. Ridged surfaces are not decoration. They lift food slightly off the plate so fat drains away instead of pooling under it, which is why bacon comes out crisp rather than sitting in its own grease.
Dry beats oil. People reach for oil when food is not browning, but the usual culprit is moisture. A blot with kitchen paper does more than a brush of oil.
Cut to an even thickness. Contact heat rewards flat, even pieces. A chicken breast sliced to a consistent thickness cooks in one go, while an uneven one needs turning and guesswork.
Try the less obvious foods. Halloumi, tortillas, frozen waffles, mushrooms and thin fish fillets all work well and rarely appear in the instructions. Reheating yesterday's fried chicken is another one worth knowing, since the tray revives the coating instead of softening it.
What shortens a tray's life
These products last for years when the coating and the silicone are treated properly. Three things account for nearly every early failure we hear about.
The first is abrasive cleaning. Steel wool and metal utensils scratch the non-stick surface, and once it is scratched, food sticks and the damage spreads. A soft sponge is the whole maintenance routine.
The second is thermal shock, which means cold water on a hot plate. It stresses the coating and the bond between the plate and the shell. Waiting a few minutes costs nothing.
The third is using it outside a microwave. An oven element, a hob or an air fryer applies heat in a way the tray was never designed for, and it can deform the silicone or damage the plate. Every model we make is microwave-only, and that limit is on the instruction sheet for a reason.
Store it dry, with the buckles left open so the seal is not held under compression, and the tray you buy this year will still be crisping toast in several years.
Stocking microwave grill trays?
We manufacture the full range, from quick-cooking trays to sandwich grills and multi-pots, certified to FDA, LFGB and CE. Tell us your market and volume and we will send samples in 7 to 10 days. Email ningboyoulekang@163.com, call +86-15258301863, or message us on WhatsApp.
Frequently asked questions
Do you preheat a microwave grill tray?
Yes. Run it empty and closed for 1 to 2 minutes first. A hot plate browns food on contact, while a cold one lets it steam, which is the most common reason food comes out pale.
How long does food take in a microwave grill tray?
Most foods take 2 to 5 minutes at 800W. Toast runs 2 to 3 minutes, sandwiches 1 to 3 minutes, chicken 4 to 5 minutes, and steak in a deeper multi-pot 5 to 8 minutes.
Can you use a microwave grill tray in an oven or air fryer?
No. These trays are designed for microwave use only. Keep them away from ovens, air fryers, induction hobs, open flames and stovetops.
Why is my food not crispy in the microwave grill tray?
Usually no preheat, a wet food surface, or an overcrowded tray. Preheat 1 to 2 minutes, pat food dry, cook in a single layer, and add time in 30-second steps.
Is a microwave grill tray dishwasher safe?
Ours are, on the top rack. Let the tray cool first and avoid steel wool or metal utensils, which damage the non-stick coating.
What microwave wattage does a grill tray need?
They work in standard household microwaves, generally 800W to 1200W. At 700W add roughly a minute; above 1000W check about 30 seconds early.